Search
Thursday, November 21, 2024 ..:: PAQ » How to Make Hess Fittings with Hand Tools ::.. Register  Login
gtag.js
              How to Make Hess Fittings with Hand Tools

If you would search the web you may find at least 8 names for this type of fittings: Goldberg Fitting, Hess Fitting, Reverse Elbow, Flat on One Side Parker Fitting, Left-Handed or Right-Handed Rectangular Change Elbow, Inverted Hensley Fitting, Drop Cheek Elbow, Airplane Rectangle Elbow.

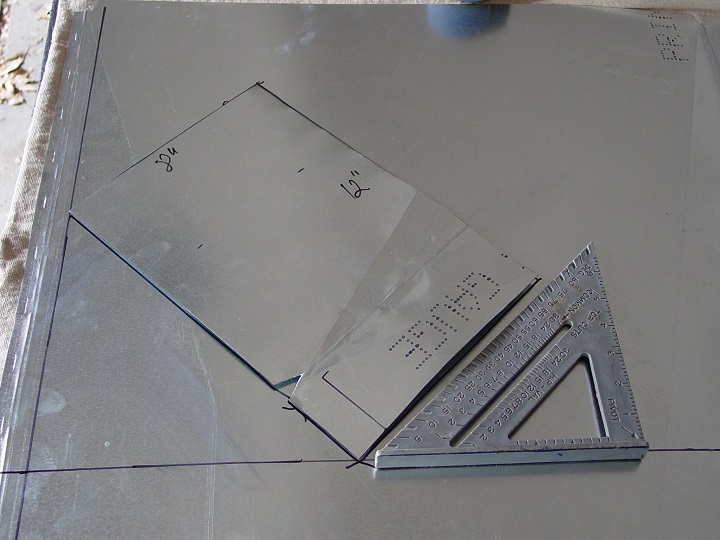
Also you may find some sketches for the layout of its three parts but nothing for the forth one and what is more important you cannot find anything about the most important things such as: how to draw the outline of those three and the bottom part pieces, how to make a Pittsburgh seam without lock former and/or manual straight brake machines, how to fold its parts without a brake machine and how to put all parts together.

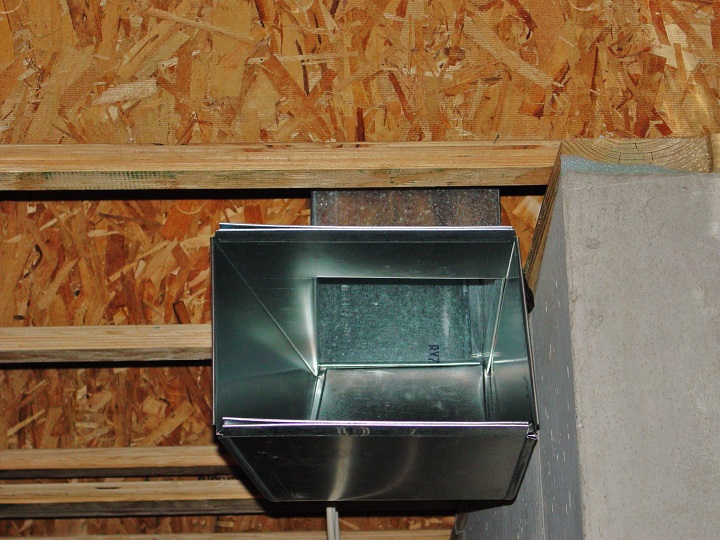
Centralized Hess Fitting

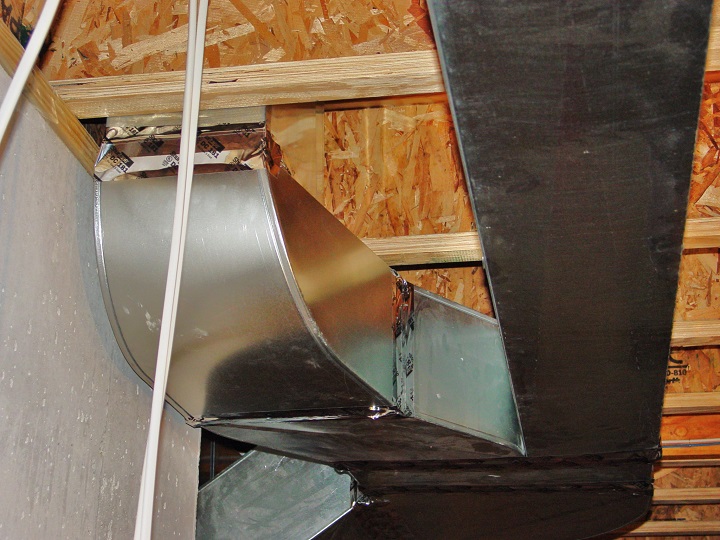
Right-handed Hess Fitting

My HVAC Company use Hess fittings to connect vertical ducts that runs in the chase up to the platform of the second floor or to the attic with horizontal ducts in the basement:
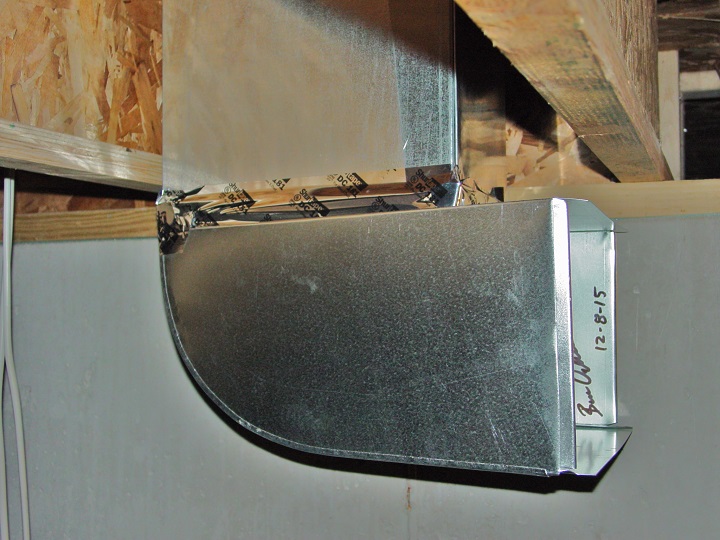
If a horizontal duct sits next to the basement's wall then they may use a right or left-handed Hess fitting, otherwise it could be a centralized Hess fitting.
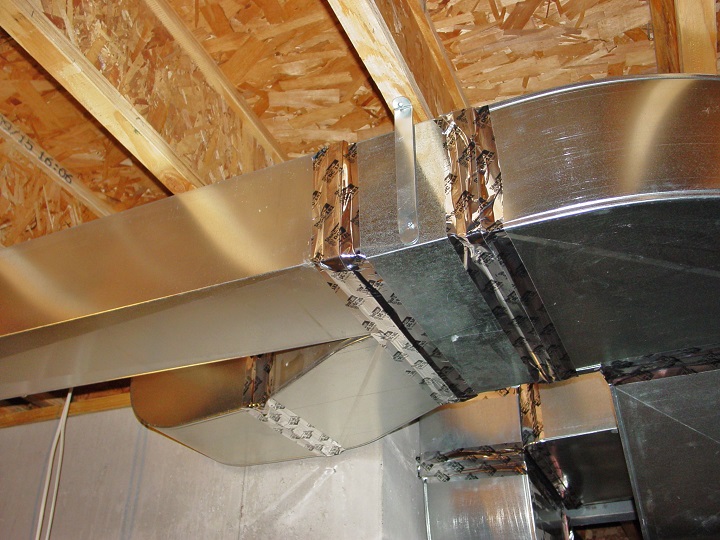
In the pictures above you can see how this installation was finalized.

Hess fittings could be made almost of any size and shape it could be square on one end and rectangular on the other:
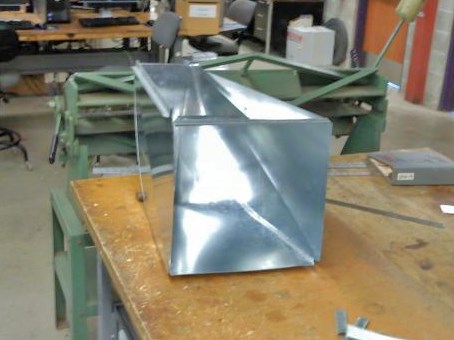
Left-Handed Hess Fitting
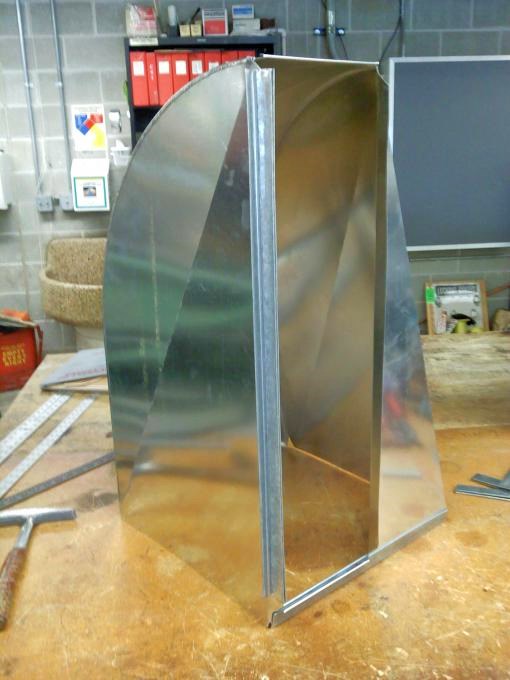
Or it could keep the same size for the inlet and outlet.

Here are some voices from the web:

"If you laid that out on your own and did it all by hand hats off to you. That is not an easy fitting to lay out, compared to a regular flat or vertical elbow. The heel on those is tricky especially when you need one side to be flat. I just used two last week to bring my ductwork up through the floor in to a mechanical room where there will be a Ruud 95% single stage with 3 ton 14 seer but anyway the only other way would have been to cap and tap but no way with supply trunk."

"That fitting can be handy in a lot of instances. I was building one once and my boss walked by and said "hey you building a piano" of course I replied "nope just an airplane". I guess I was taking a little to long. I like to brake a kink kitty corner on the angled side. It seems to fit into the pits a little better."

"let me tell you that I made a lot of these pieces, we call them airplanes, goldbergs, and reverse boots. I made them a lot because I just happen to bump into situations where I needed a transition 90, but had no throat room..."
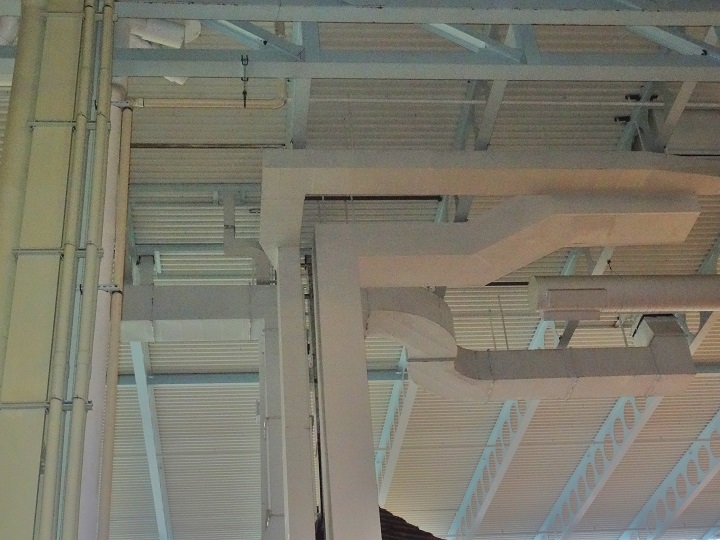
In this photo you can see how Hess fitting is used in the commercial application. The ductwork is designed and installed for the kitchen hood in restaurant at the Kalahari Water Park.


OK, I hope you understand that in many ductwork installation situations it could be a very useful fitting and you can make it at your shop, basement, garage or even on a job-site without heavy and expensive equipment using only your hand tools.

So, for the price of only $3.00 you can purchase an instant access to one of the paid pages below and see dozens of high quality pictures set in the step-by-step sequence with brief explanations.

Furthermore, if you would purchase an instant access to one of the paid pages below you can purchase the other one just for $1.00!


Instant Access:

Register on the site first (recommended), otherwise, after you have purchased a paid page; PayPal is going to bring you back to my website. In order to see the paid page you have to click on the “Register” button, fill out the form, choose your own Username and Password and click on the “Register” button at the bottom of the form – congratulation, you are now on the page you have paid for! 

Important: After you have purchased any Paid page or Download page and PayPal brought you back to my website, the first thing that you should do is to save that page to your Favorites. Then if something goes wrong you always can come back to re-register yourself on my website again.

                        How to Make Centralized Hess Fitting with Hand Tools
                    How to Make Flat on One Side Hess Fitting with Hand Tools

How to Make 45* Hess Fitting with Hand Tools

If you would Google forty five degree Hess fitting the search engine will give you a link to my website and not much more, because such a fitting doesn't exist. Well, it has been true up until now! After three weeks of trial and error eventually I make one!

So, first off, why does anyone would need this type of fitting? Because in the tight space between a wall and another duct you may not have enough room for the vertical 90* and flat 45*. The same reasoning may prompt you to use a conventional Hess fitting when you don't have enough room for the vertical and flat 90*-s.

As you probably noticed here is no picture of this fitting on the page. As I've mentioned above I spent three week trying to create one and I don't want that someone get my idea for free.

So, for the price of only $2.00 you can purchase an instant access to the 5 pictures and see this fitting from all 5 sides. If after that you'll need a step-by-step instructions on the same page for the price of only $3.00 you may purchase an instant access to the next paid page and see 52 high quality pictures with brief explanations to them.

However for the price of only $4.00 you can purchase an instant access straight to the second page.

                                       45 Degree Hess Fitting in Pictures
                              How to Make 45* Hess Fitting with Hand Tools

Totally Hand Made Duct Fittings

Not too long ago I, like many of you, sincerely thought that the way of making any kinds of sheet metal fittings is only possible by using sheet metal brake and metal forming machines! Not anymore:

From late Fall and Winter of 2015 through May 2016 I made more than twenty most frequently-used sheet metal fittings without using any of these very expensive machines.

All the fitting that you see in the picture on the left I made with hand-tools only!

The price of all 35 tutorials below, if you would buy them separately is $90.00, however if you would like to purchase an instant access to all of them at the same time you can do it for a low price of only $29.99!

List of Tutorials:

  1. How to Make Cone Reducer
  2. How to Make Square to Round Offset Transition
  3. How to Make Round to Square Transition
  4. How to Make 45* Roof Penetration
  5. How to Make Radius Elbow
  6. How to Make 45* Radius Elbow
  7. How to Make Radius Offset
  8. Now to Make Radius Riser
  9. How to Make Offset and Riser in One Piece
  10. How to Make 90* Square Throat Elbow
  11. How to Make 45* Square Throat Elbow
  12. How to Make Vertical Elbow
  13. How to Make Square to Rectangular Vertical Elbow
  14. How to Make Square Throat Offset
  15. How to Make Square Throat Riser
  16. How to Make Square Throat Tee
  17. How to Make Transition Tee
  18. How to Make Y- Branch Fitting
  19. How to Make Riser Starting Transition
  20. How to Make Flat on Top & Side Starting Transition
  21. How to Make Centralized Hess Fitting
  22. How to Make Flat on One Side Hess Fitting
  23. How to Make 45* Hess Fitting
  24. How to Make Flat Duct Reducer
  25. How to Make Vertical Duct Reducer
  26. How to Make Flat & Vertical Duct Reducer
  27. How to Make Transition from Your New Furnace to Old Plenum
  28. How to Make 20 x 20 to 30 x 25, One Inch Offset Transition
  29. How to Make 24 x 10 to 10 x 24 Duct Transition
  30. How to Make Transition from Duct with Hand Tools
  31. How to Make Flat Offset Transition from Duct
  32. How to Make Transition from Whole Duct
  33. How to Make Turning Veins
  34. How to Make Wye with Hand Tools
  35. How to Make Round End Cap with Hand Tools
 1 | 2 |
    eBay
Copyright 2007 by Ductwork installation  Terms Of Use  Privacy Statement
DotNetNuke® is copyright 2002-2024 by DotNetNuke Corporation