|
|
Why is Cold Air not Reaching the Farthest Room?
|
|
This issue may occur with your supply and with your return ductwork.
For supply, there could be six reasons for that:
- System of ductwork in your house is poorly designed
- The duct, which is feeding this room, is undersized
- The damper on this duct is partially closed
- The system of ductwork has too many leaks
- The duct could be partially blocked with a foreign object
- Morons who remodel or fix something in your house could disconnect the duct.
The matter of fact is that the last heat is normally getting more air than any other "heat run" on the duct! You can get only more air through the same duct size if you would run it off the plenum!
In addition, there could be problems unrelated to the ductwork issues such as a dirty air filter or low Freon pressure that could lead to the AC coil to freeze up.
If the system of ductwork in your house is purely designed then it could be:
The last duct is undersized:
Just remember a simple "rule of thumb" - 10 x 8 duct can handle only four 6" heat runs, 12 x 8 duct - 6, 14 x 6 duct - 8, and so on. That means that if installers put even four heat runs on the 10 x 8 duct, two of them 7" - means your duct is undersized.
In this case you can re-run some of the heat runs from the previous duct, if of course there is enough room for doing that. However, most likely is that you will run them as "jumpers". Another solution is to increase the main duct size, let's say from 10 x 8 to 12 x 8. It could be an easy DIY project, you just need to purchase the same length of the duct and replace the transition. (Please see Chapter #41 below).
The previous ductwork is over-sized and there are two many heat runs off of it:
The air goes to the path of less resistance, if for example after 20 x 8 the following is a 10 x 8 duct and on the 20 x 8 someone could cut in a zillion heat runs and the result could be obvious.
The solution is to replace the previous duct with the smaller one and increase the last duct size. Re-run some heat runs from the last duct so it would be more in compliance with the "rule of thumb" above. It could be a difficult DIY project, because you may need to re-run too many heat runs, but it is still possible to do! (Please see Chapter #41 below).
The system of ductwork is undersized or sized properly, but you may have too many heat runs off the plenum.
In this case, you have to remove all the heat runs, block the holes in the plenum and hook up them up to another piece of duct. It would be a difficult DIY project. (Please see Chapter #54 below).
If the duct, which is feeding this room, is undersized, it obviously cannot keep up with the load. Especially this is true if this duct is feeding a room on the second floor. Sometimes this duct could be pretty long with excessive amount of elbows and other fittings that aggravate the problem.
If this is the case you cannot to do too much without opening the duct up, which of course will include removal of the drywall, base molding and so on, but you can try to re-run this heat in the basement. (Please see Chapter #44 below).
If the damper in this duct is partially closed, it could be very easy fix: you just have to open it all the way up. If it doesn't significantly improve airflow, then you may need to partially close some of the dampers on the heat runs with excessive airflow. Some of them such as, for example, feeding small interior bathrooms could be closed completely.
Just remember, you cannot block an airflow with a damper 100% because it will always leak some air into the duct!
If the system of ductwork has too many leaks, you have to seal it. This is a pretty easy DIY project. (Please see Chapter "Sealing Ductwork" below).
If the duct is partially blocked by a foreign object, you have to remove the register and use a flashlight and a small mirror to look inside. If there is nothing you can take apart duct in the basement, remove the object and put the duct back together. (Please see Chapter #44 below). Or if you are having a complicated "heat run" with a few elbows down the line, you may use a fish tape to locate an obstacle in the duct.
As you understand in your particular house there could be a combination of the issues above which would conclude that you cannot rule out any of them without thorough investigation.
|
When it comes to return, there could be four reasons for that:
- The last duct is undersized
- The openings for cold air returns in the previous ducts are oversized
- The system of ductwork has too many leaks
- The blocker is removed or damaged by a plumber or electrician
If the last duct is undersized, you have to replace it. Just remember a simple "rule of thumb": a 10 x 8 duct can handle two cold air returns, a 14 x 8 duct - has four cold air returns. One joist space can handle up to eight cold air returns if four of them come to the 20 x 8 duct from both directions. (Please see Chapter #40 below).
If the openings for cold air returns in the previous ducts are oversized, you have to partially block them.
Unfortunately, a lot of installers are poorly trained and they do not understand some simple things! They are thinking that they can cut openings in the cold air duct of any size - the bigger the better! They were taught that because the size of the cold air return is limited and usually cannot be larger than 12 x 3 ½ it will suck only a limited amount of air, just the same as from the last cold air return, but it is not true!
There are two fixes to this problem:
- You can partially block openings in the duct, but then you will have to remove and maybe replace some blockers and/or sheeting.
- You can use magnetic shields to block some cold air returns at the grills
The first fix could be either an easy or difficult DIY project, but it would be more desirable, because it won't affect your interior design as the second one would. (Please see Chapters #40, #34 and #35 below).
If the system of ductwork has too many leaks, you have to seal it. This is a pretty easy DIY project. (Please see chapter Sealing Ductwork below).
If one of the blockers is removed or damaged by a plumber or electrician you have to replace it and seal all the gaps with the duct sealant. (Please see Chapters #34 and #35 below).
As I have indicated above some of the fixes could be easy, but some not. Some of them you may consider as a DIY project, but for some of them you may need to hire a pro. But just remember in any case you may need to purchase one of the chapters (below) from my Ductwork Installation Guide. Please recall how you got in this mess in the first place!
If all of the installers would know what they are doing you wouldn't be here looking for help. In my opinion you have to have a tool, a step-by-step guidance that will help you to find out if your installer is doing something wrong and draw his attention to his mistakes!
I have placed all chapters relevant to the topic of this page in the sequence of all issues and solutions that were presented above. |
|
34. Sheeting (Panning)* – the chapter covers almost all possible cases of the joist's panning with a wide variety of 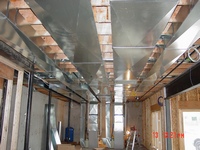 uncommon cases, presents how to deal with penetration of the wires, copper and PVC pipes. The chapter contains eighteen examples of this type of installation. uncommon cases, presents how to deal with penetration of the wires, copper and PVC pipes. The chapter contains eighteen examples of this type of installation.
The chapter has 67 pictures; 35 pages*. $2.50 (Instant Access).
Summary Report for:
47-2211.00 - Sheet Metal Workers
On 07/23/2017 text of this chapter was significantly modified and improved. Two more pictures were added.
|
|
36. Double Sheeting – the chapter describes a double sheeting installation and explains when it
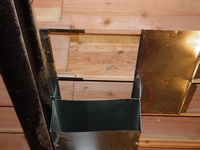 should be in use. should be in use.
The chapter contains five examples of this type of installation.
The chapter has 9 picture; 7 pages*. $2.00 (Instant Access).
On 04/15/2016 text of this chapter was significantly modified and improved and three pictures were added.
|
|
40. Cold Air Return Duct Installation#– the chapter covers a wide variety of the different aspects of work that is 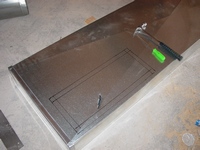 necessary to know in order to be able to install the cold air return duct, such as: how to take measurements and how to cut in a canvas, how to put together a duct, fold drives, and nail hangers. The chapter explains how to hang a duct if you are working alone or with a helper, how to install a cold air drop etc. In addition, there is a description on how to take a measurement and cut a piece of duct. Furthermore, the chapter explains how to take measurements and cut openings for cold air returns in the duct, and describes three ways on how to connect two ducts together. In the end, the chapter represents a few uncommon cases of the cold air duct installation. The chapter contains thirty three examples of this type of installation. necessary to know in order to be able to install the cold air return duct, such as: how to take measurements and how to cut in a canvas, how to put together a duct, fold drives, and nail hangers. The chapter explains how to hang a duct if you are working alone or with a helper, how to install a cold air drop etc. In addition, there is a description on how to take a measurement and cut a piece of duct. Furthermore, the chapter explains how to take measurements and cut openings for cold air returns in the duct, and describes three ways on how to connect two ducts together. In the end, the chapter represents a few uncommon cases of the cold air duct installation. The chapter contains thirty three examples of this type of installation.
The chapter has 140 pictures; 83 pages*, $3.50 (Instant Access).
#From the UMC 2000 aka CMC.
On 12/31/2017 text of this chapter was significantly modified and improved. On 01/31/2019 one picture was added.
|
|
41. Supply Ductwork Installation* – the chapter deals with the take-offs installation. It is explains how to make 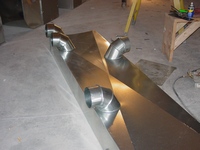 measurement, cut in and tap in a take-off. The Chapter describes all possible cases of the take-offs and supply ductwork installations. The chapter contains nine examples of this type of installation. measurement, cut in and tap in a take-off. The Chapter describes all possible cases of the take-offs and supply ductwork installations. The chapter contains nine examples of this type of installation.
The chapter has 36 pictures; 18 pages*. $2.37 (Instant Access).
On 05/09/2015 text of this chapter was significantly modified and improved On 10/02/2016 five more pictures were added. |
44. "Jumper" Installation – the chapter gives a description how to make 45 degree angle from the
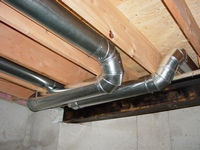 “elbow”. Chapter covers all possible cases of measurement, calculation and installation of the “jumpers”. Also the chapter covers several uncommon cases of the “jumper” installation. “elbow”. Chapter covers all possible cases of measurement, calculation and installation of the “jumpers”. Also the chapter covers several uncommon cases of the “jumper” installation.
The chapter has 125 pictures; 59 pages*. $2.69 (Instant Access).
On 04/26/2015 text of this chapter was significantly modified and improved. On 12/25/2018 two more pictures were added.
|
|
54. Basement Finishing – the chapter presents all aspects regarding ductwork installation in the finished 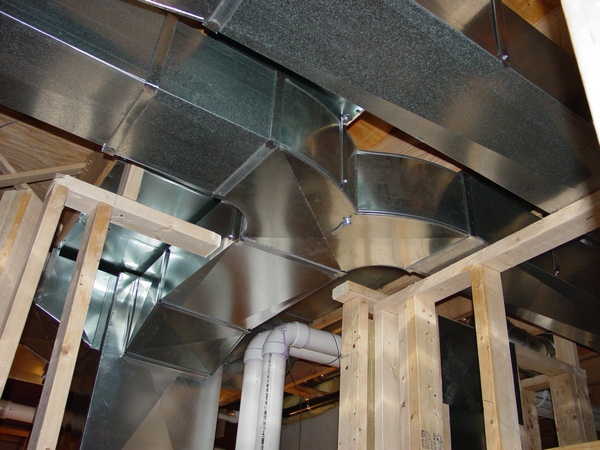 basement. basement.
The chapter describes how to install a zoning system, heat runs, cold air returns, and bath fan exhausts. Also the chapter explains how to deal with the different types of the drop ceiling, wood and metal studs.
The chapter has 51 pictures; 31 pages*. $10.62 (Instant Access).
On 04/05/2015 text of this chapter was significantly modified and improved. On 08/13/2017 one more picture was added.
|
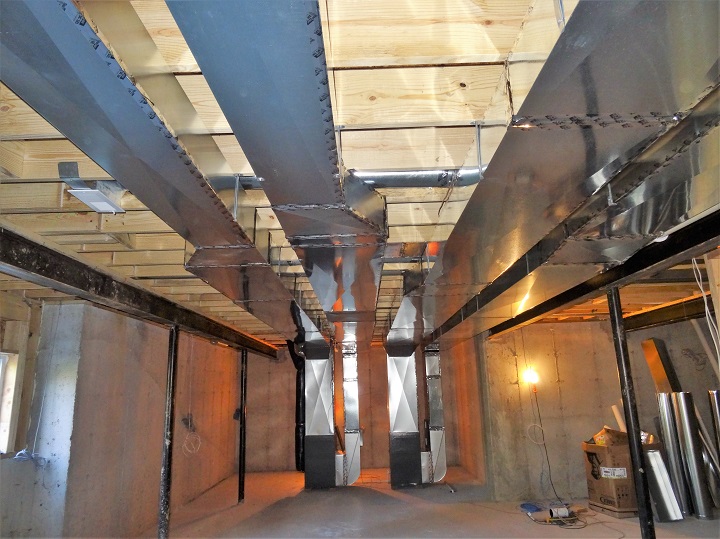 Sealing Ductwork - This is a chapter from Energy Saving Edition book. $1.34 Sealing Ductwork - This is a chapter from Energy Saving Edition book. $1.34
|
|
|
A website "ductworkinstallation. com" focus on providing information and services related to the installation of ductwork systems , which are the tubes used to distribute heated or cooled air throughout a building as part of an HVAC system; essentially, it would be a platform for individuals or companies specializing in designing and installing ductwork for homes and commercial properties, offering details on the process, and potential contractors to contact for such services.
Key points about ductwork installation websites:
Services offered:
New ductwork installation, ductwork repair, duct cleaning, duct sealing, airflow balancing.
Target audience:
Homeowners looking to install a new HVAC system, individuals experiencing issues with their existing ductwork, commercial property owners needing ductwork for large buildings.
Information provided:
Explanations on different types of duct materials, design considerations for optimal airflow, potential benefits of proper ductwork installation.
|
|
Entertainment Rooms: Home Theaters, Bars, and Game Rooms
Book Description
Publication Date: April 28, 2010 Tour homes where owners have invested in their own private Shangri-Las, from upgraded entertainment rooms to full-out theater experiences complete with popcorn machines. See bars ranging from simple corner counters to sports bars complete with multiple viewing screens and billiard tables, along with wine cellars, tasting rooms, and indoor pools.
|
|