|
1. List of materials needed for the project:
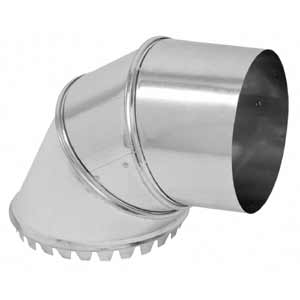 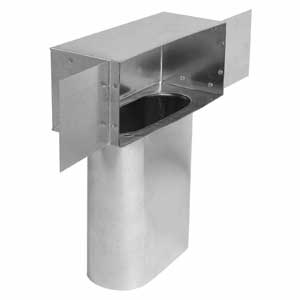 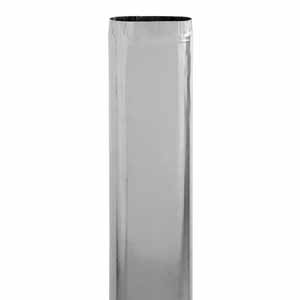 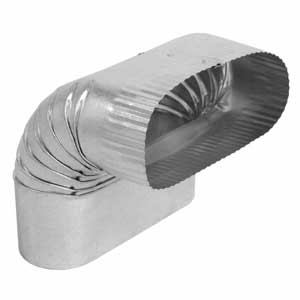
Take-off 10”x6” Bathbox Oval Stack Oval 90*
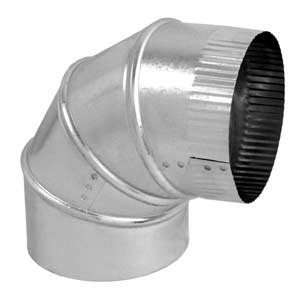
20” Drive
10” Drive
½” Screws
Round 90* Sheeting Nails
2. List of the tools needed for the project:
   
Cordless Drill Tape Measure Crimpier Hammer
   Red aviation snips Replaceable-blades snips Flat screwdriver Red aviation snips Replaceable-blades snips Flat screwdriver
7” Template
Pencil
Magic Marker
While finishing their basements off some homeowners want to bring a heat all the way to the floor. So here in this chapter, I would like to explain how to do that. I will show you how to run a heat to the wall, which separates the main area from a mechanical/storage room.
In order to better organize an explanation of the execution of this project I would like to divide it into several steps:
Step #1 – Find a spot and install a 10”x 6” Bathbox
A spot (a stud space) for a Bathbox should be free from wires and plumbing pipes and in reach from the supply duct as you can see it in P. 2.
If you do not install some kind of fancy base molding the distance from the floor to the bottom of the Bathbox should be 8”......
This is a parent page. If you would like to read more you can buy an access to the secondary page for only $2.50.You can pay right here on this page by using the Buy Now button below.
This page gives a description on the installation of the heat duct in the wall, which separates the mechanical room from the rest of the finished basement. On this page you can see pictures of all necessary tools and materials and pictures of the system elements installed. There are 16 pictures on this page. All installation is divided into four steps which represent the entire project in the making.
Installation on the paid page might not exactly describe your upcoming project. However, it will give you an important example on how this type of installation should be done. In addition, it will open the gates for as many questions as necessary to make sure that the job is done right.
On 04/09/2016 11 pictures were added. This tutorial was extended to cover other types of interior and exterior low heat runs installations and from now on represent them all! The low price of $2.50 will stay the same for about a month, unless I’ll see a higher demand.
In order to gain an access to the secondary page you have to pay the access fee of only $2.50. Just click on the “Buy Now” button below. Once you pay, you will gain an instant access to the page!
Instant Access:
After you have purchased a paid page; PayPal is going to bring you back to my website. In order to see the paid page you have to click on the “Register” button, fill out the form, choose your own Username and Password and click on the “Register” button at the bottom of the form – congratulation, you are now on the page you have paid for!
Important: After you have purchased any Paid page or Download page and PayPal brought you back to my website, the first thing that you should do is to save that page to your Favorites. Then if something goes wrong you always can come back to re-register yourself on my website again.
|